Here is the simple steps to DLL project in Visual Studio
- Open Visual Studio
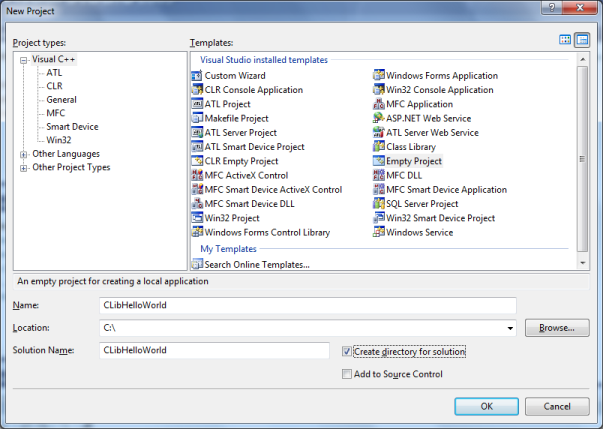
- Click File->New Project, and select Empty project
- Write Name and select location
- Click ok
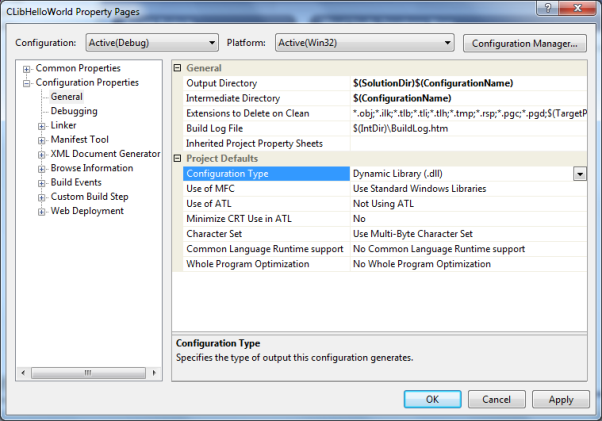
- Go to Project->Properties
- On the left side, select general in configuration properties
- Select Dynamic Library(.dll) as configuration Type
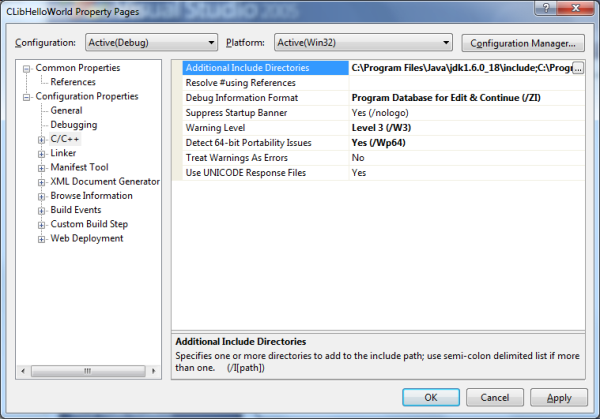
- Next click C/C++
- Add jdk include and win32 path in Additional Include Directories
- If you have installed jdk in c program files then the path is
- C:\Program Files\Java\jdk1.6.0_18\include; C:\Program Files\Java\jdk1.6.0_18\include\win32
- Click OK button.
- Now the configuration of the project is done. Next step is to add files to the project.
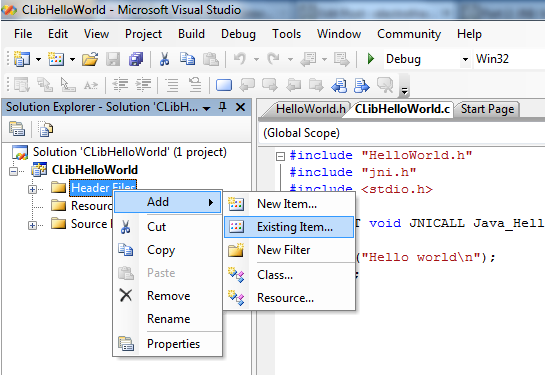
- As shown in below image, right click on the “Header Files” folder and select Add, Existing Item
- Select Header files and add to the project.
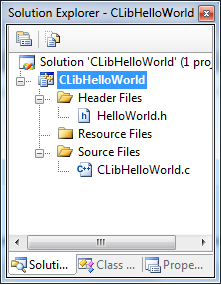
Finally solution explorer will look like:
- Build Solution: Go to Build->Build Solution
- Solve the errors if any found in output window.
- Once the build is successful then the generated dll will be in the output directory.

Thanks Ranjith for the steps.
Good one:)
How can i do visual studio setup for Microsoft Visual C++ 2010 Express edition.
thank you so much ! Ranjith