To build a complete website you need to buy a domain name and a server to host your website files. But if you don’t want to launch your website right away and want to set it up completely before going live, set up everything locally.
Why you should install WordPress on localhost?
When you set up WordPress locally, all the files will be stored on your local computer, and this means only you will be able to access your website. This is a great way for you to learn, making a website for free of cost. Also, this gives you a great testing environment that doesn’t affect your live website.
Step 1 – Download and install XAMPP server on your PC
To install WordPress, you need an Apache web server, PHP and MySQL database. All are separate open-source software and installing this software one by one will be a difficult job for beginners. This is where XAMPP comes into the picture. XAMPP is an easy to install Apache distribution containing Apache web server, PHP and MySQL bundled together.
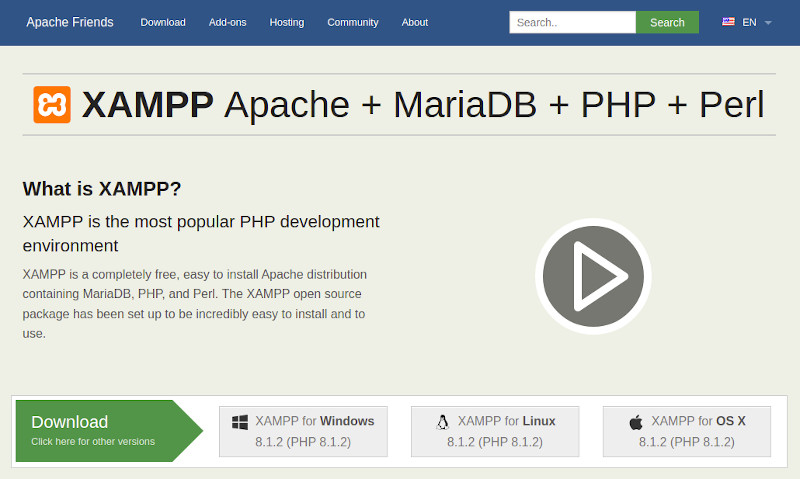
Download XAMPP from XAMPP’s official website. Select your operating system and click on the download button.
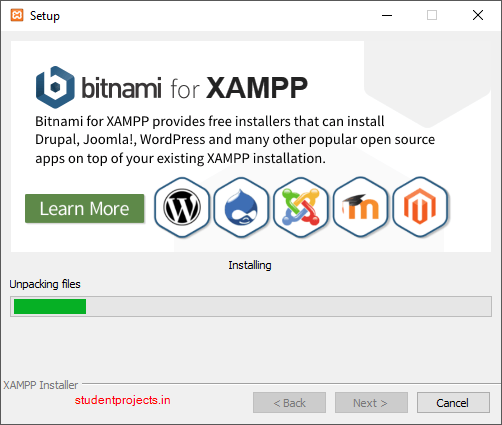
Wait a few moments after hitting the download button. Because the file is around 150 MB in size, it will take some time to download. After downloading the file, double click the executable file and follow the installation process.
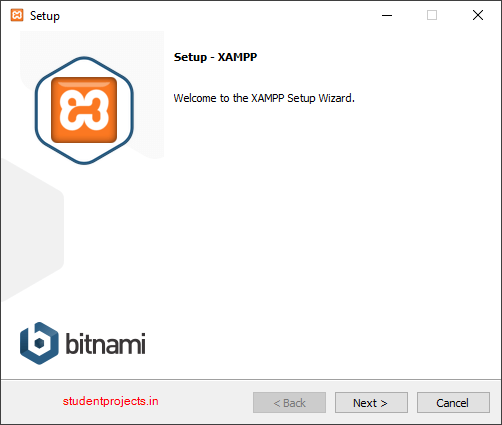
Click on the Next button.
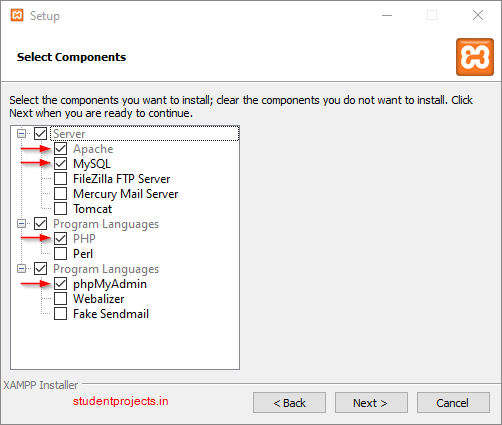
On this screen, some of the checkboxes will already be checked. It is enough to select Apache, MySQL, PHP and phpMyAdmin and click on the Next button. On the next screen, select the path where you want to install the XAMPP server. You can leave it as default c:\xampp. Click on the Next button.
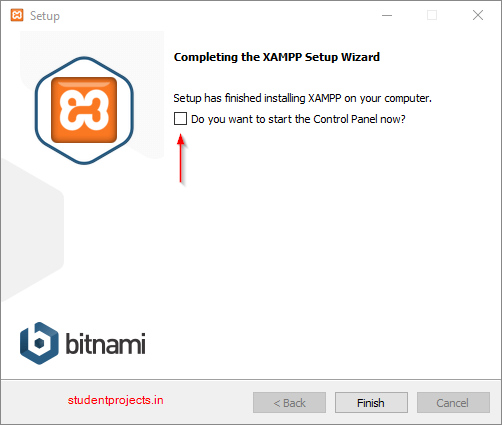
Once the installation is complete, remove the tick mark “Do you want to start the control panel now?” and click on the Finish button. We have to run the XAMPP control panel as administrators.
Step 2 – Run the XAMPP server and test it
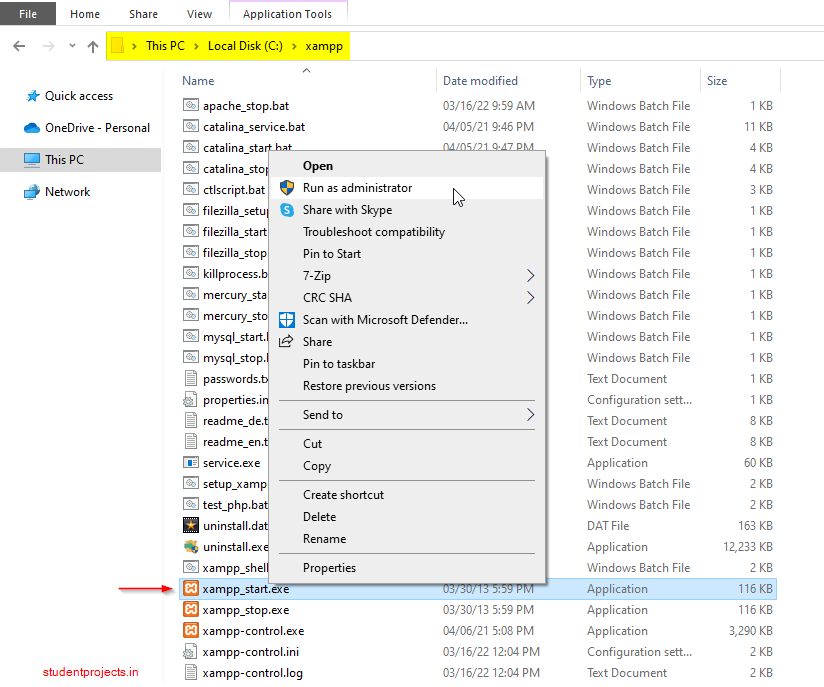
Once the XAMPP installation is complete, you will need to run XAMPP as an administrator on Windows. To do that, click Start, find XAMPP Control Panel in your Programs list, then right-click and select Run As Administrator. Another option is to go to C:/xampp where you have installed the XAMPP server, run xampp_start.exe as administrator.
This will launch the XAMPP Control Panel.
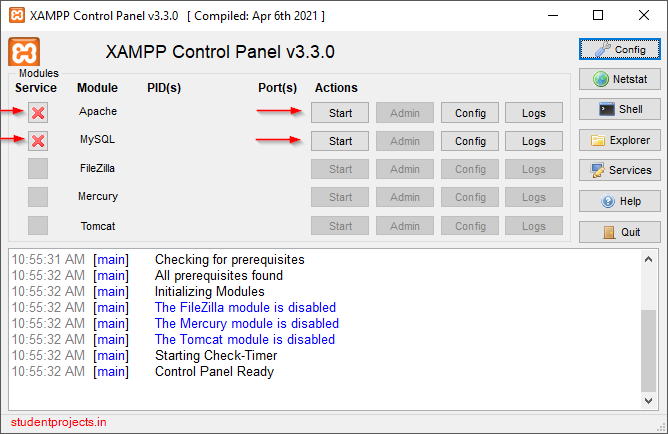
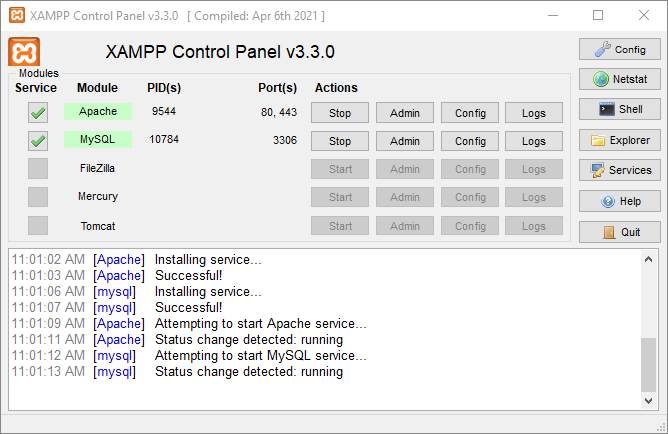
First, run Apache and MySQL services on the left side in the Control panel. Observe the green tick mark. This will register the Apache and MySQL server as service and it will start the server on every system reboot. Now click on the Start button for both Apache and MySQL which should look like the below image. You can track the green running status near to it.
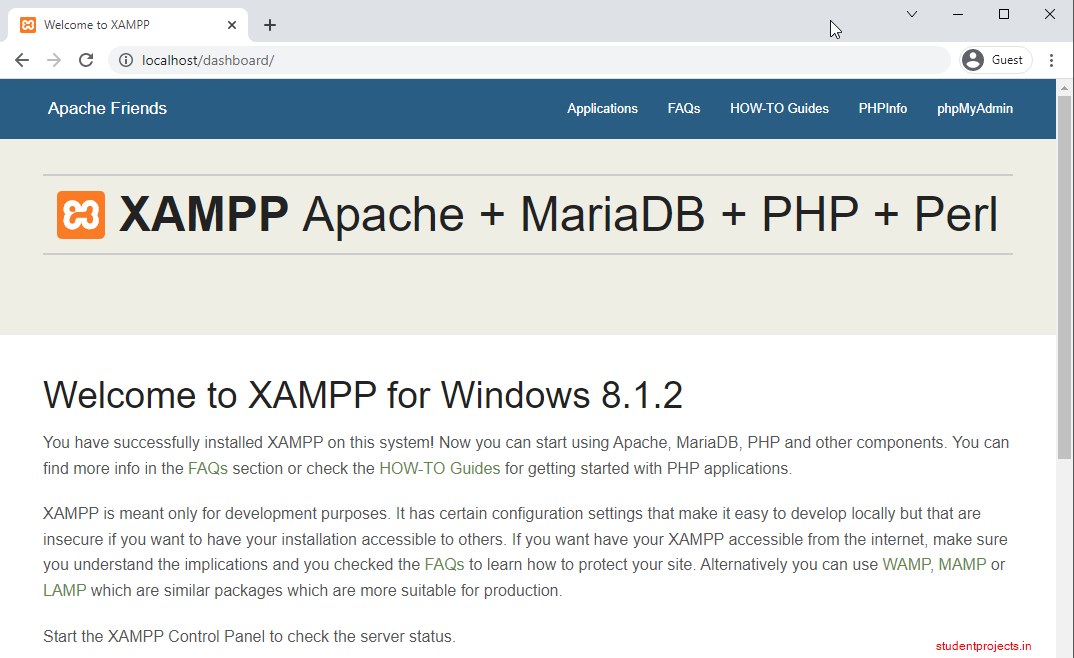
Now is the time to test the XAMPP server. Open http://localhost, if everything is good then it should open the page like the below image.
Step 3 – Download the latest WordPress Version
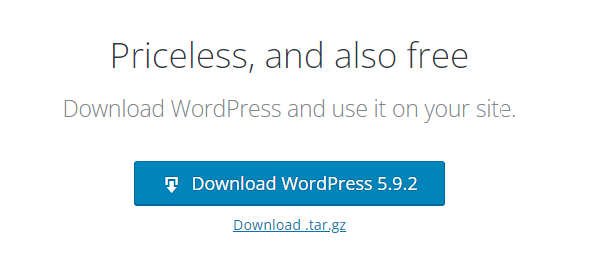
The next step is to get the most recent version of WordPress from the WordPress.org website. It will be downloaded in a zip format. Open to https://wordpress.org/download and click on Download WordPress.
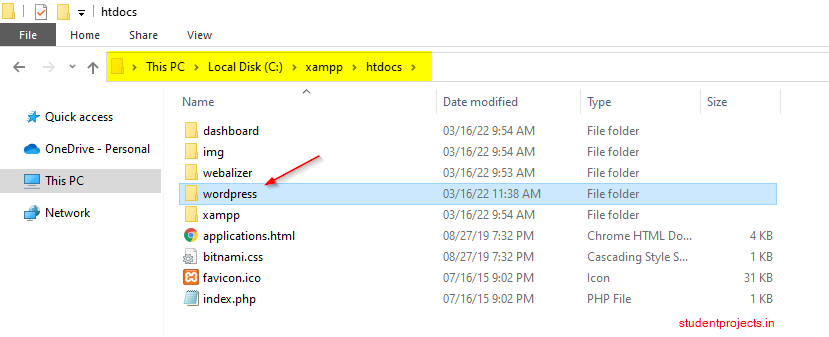
This will download a zip file. Extract the files to C:/xampp/htdocs folder as shown below. You are free to change the folder name from wordpress to anything else.
Step 4 – Create a Database
WordPress uses a database to store the text contents. We will create a MySQL database using the phpMyAdmin tool. Open http://localhost/phpmyadmin to launch phpMyAdmin.
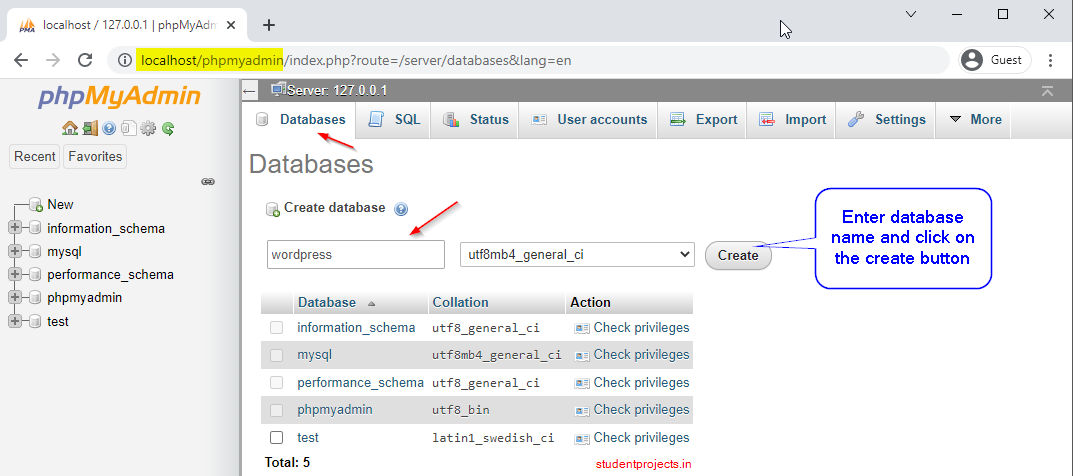
Click on the tab Databases, enter the database name and click on create button. This will create a database. You can name the database whatever you want.
Step 4 – Install WordPress on Localhost
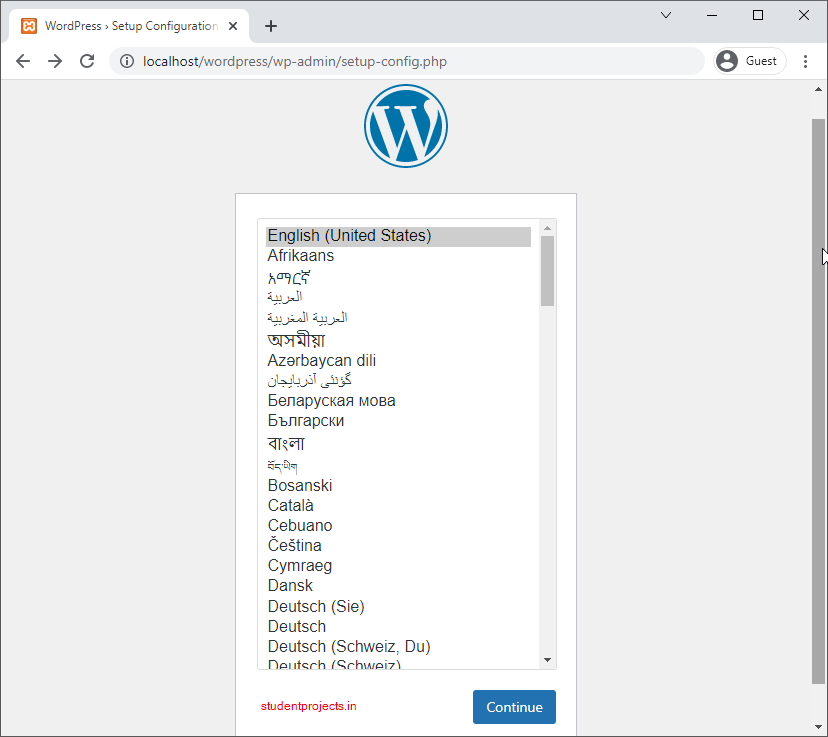
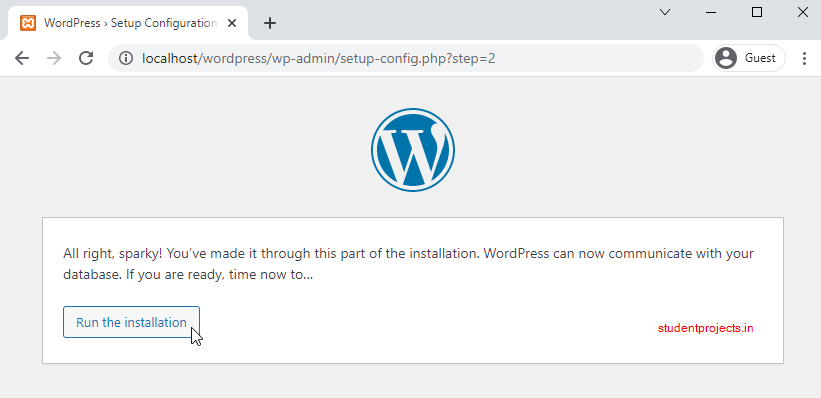
We have set up the server and a database. Now is the time to install WordPress. Open http://localhost/wordpress on your browser. This will redirect to the WordPress installation wizard. Follow the below-given steps to install WordPress.
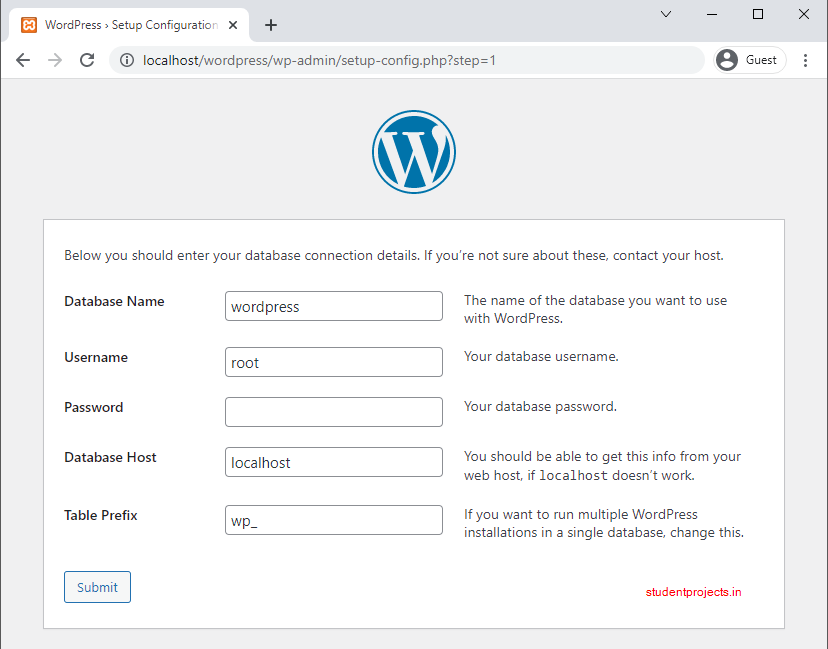
On the next step, enter the database name(it is “wordpress” in our case), root as username, leave the password blank as we have not set any password for root user. Click on the Submit button.
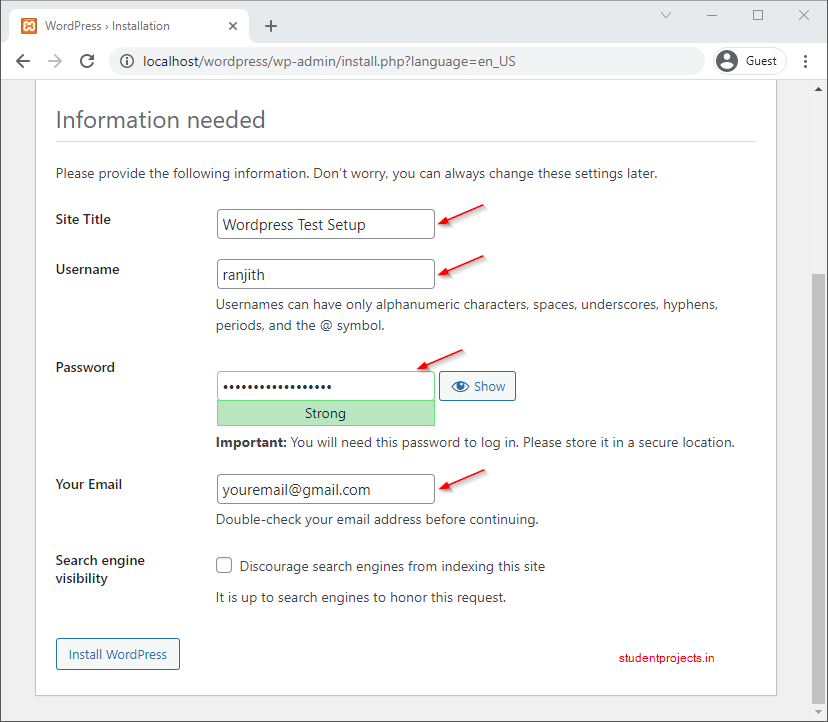
Provide the Website title, a username and a strong password, email id. For security reasons, don’t use admin as a username.
After a successful installation, the success message should show.
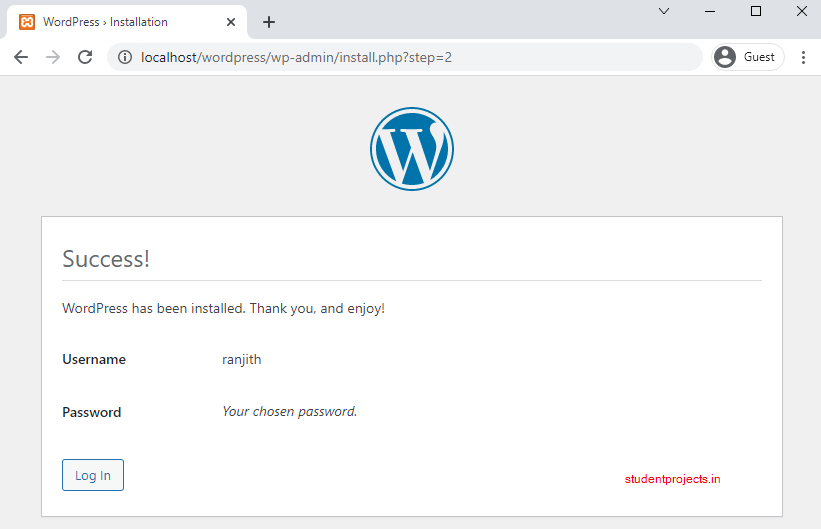
Click on the login button or open the URL http://localhost/wp-admin to log in. Enter the provided username and password, click the login button.

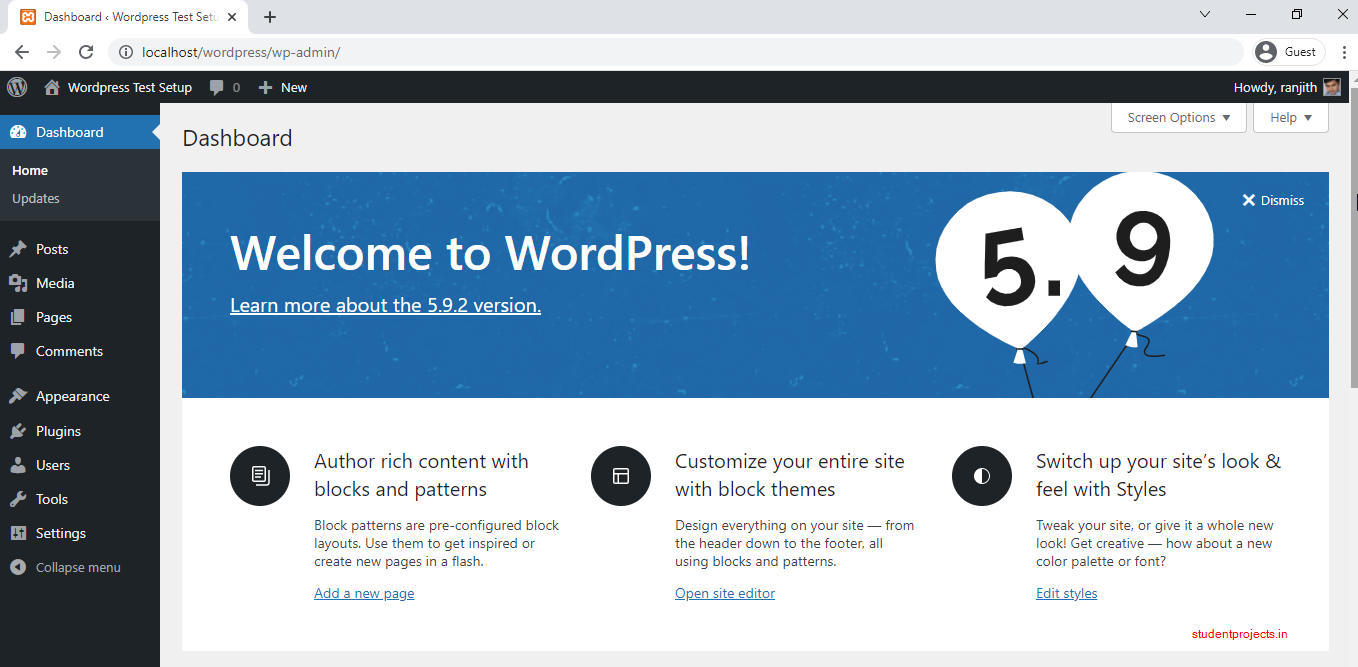
This will open the WordPress dashboard. This is your backend dashboard or admin panel, from where you would control everything.
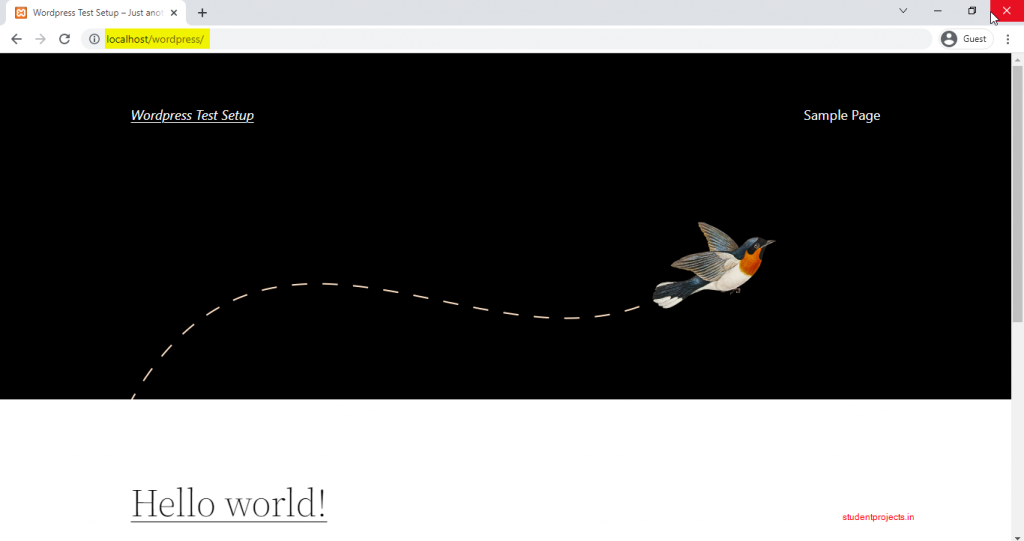
Now is the time to visit your local website. Open http://localhost/wordpress
So, give it a shot and let me know if you have any questions in the comments section below. I’ll be happy to assist you!