The majority of hosting servers’ cPanels have a one-click install button for WordPress. Don’t worry if you don’t have a choice. It’s quite simple to set up. It consists of the following steps:
- Download the most recent WordPress files
- Connect to your server and upload the files
- Create a database and set it up.
- Install the WordPress
Let’s get this party started right away.
1. Download the most recent WordPress files
You must first download WordPress from its official download page to begin the installation procedure. Always download the most recent version of WordPress from the official website.
Open the URL https://wordpress.org/download/#download-install and download the WordPress zip file. Unzip and keep it ready for the next step.
2. Connect to your server and upload the files
You must now upload all of the files from the WordPress folder to your site hosting account. The files can be uploaded to the server in two ways. You can connect using any FTP client or use the File Manager in cPanel.
2.1 Upload files using FTP client
Download and install any FTP client on your PC to upload WordPress files to your web server. FileZilla is a good option. Download FileZilla from the official website.
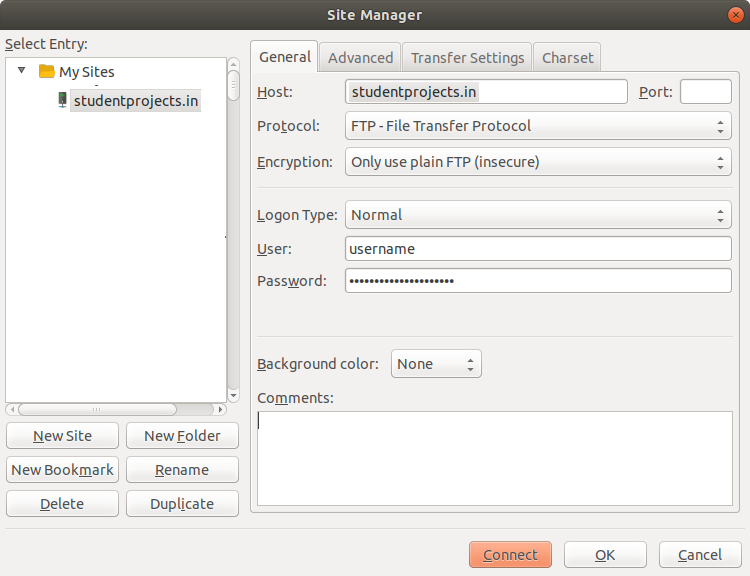
To connect to your website, launch an FTP client and enter your Host name, FTP username, FTP password, and Port.

You should be able to see the folders on the right side after a successful connection. Navigate to the public_html folder.
First, decide where you want WordPress to be installed. To install it on the root directory, upload the extracted files from the wordpress folder to the public_html folder. You can also create a directory called blog and upload the files to that directory. It should look something like this picture.

2.2 Upload files using cPanel File Manager
Login to your cPanel and click on ‘File Manager’ option.
To install WordPress on your root domain, such as codesdoc.com, go to the public_html folder. To install WordPress on a subdomain such as codesdoc.com/blog, create a ‘blog’ directory under public_html folder and go to that directory.
Upload the wordpress zip file to this selected folder and extract file files. Finally it should look like this.

3. Create a database and set it up.
Let’s make a new MySQL database, user and grant all the privileges.
To begin, navigate to ‘MySQL Databases’ on cPanel. Enter the database name and click on create Database. Here first part of the database name is fixed based on the panel username. Note down the full database name once successfully created.

On the same page there will be an option to create a user. Enter username and password. Click on the Create user button. Note down the username and password once successfully created.

At this point newuser has no permissions to do anything with the databases. So grant all the privileges to the newly created users. Under Add user to database section, select user name and database, click on the add button.

On the next page, click on All Privileges tick mark. This will grant all the privileges to the user.

You are done with the database and user setup.
4. Install the WordPress
Open the website URL on the browser, which will take you to the installation page. Enter all the details like database name, username, password. The database host and table prefix can remain unchanged.

If you don’t have write access to create a file in the install directory, you’ll get the following error. Then, in the install directory, create a wp-config.php file and paste the given text in it.

The database connection has now been established. Provide the title of the site, as well as the username, password, and email address.

WordPress installation is completed successfully. Use the URL http://yourdomain.com/wp-admin to access the WordPress admin panel.
To log in, use the username and password provided.

Congratulations! You have successfully installed WordPress. If you have any problems installing WordPress, please leave a comment below.
