WordPress can be installed using web hosting control panels such as cPanel or Plesk. Typically, these control panels offer a one-click installation option. If you don’t have that choice, continue reading.
This article explains how to manually install WordPress on any Linux server or a dedicated server that does not have a control panel installed.
Prerequisites
- Access to an linux server with a sudo user
To complete the WordPress installation on a linux server, we need a user login with sudo privileges. - LAMP Stack
In order for WordPress to work properly, it will require a web server, a database, and PHP. All of these needs are met by installing a LAMP stack (Linux, Apache, MySQL, and PHP). To install and configure this programme, follow the steps in this guide.
It’s quite simple to set up WordPress. It consists of the following steps:
- Connect to your server via SSH
- Download and unzip the most recent WordPress files.
- Create a database and set it up.
- Install the WordPress
Let’s take each step one at a time.
1. Connect to your server
I’ll show you how to connect to the server with PuTTY or SSH in this section. You may be unable to log in via SSH on some servers because of server restrictions. In that case, check out this article on how to install WordPress in cPanel using FTP.
Connect to your server using PuTTY
Open PuTTY and type your domain name in the Hostname (or IP address) box, as well as the SSH port number in the Port box, and then click Open.

PuTTY will now prompt you for your login. Enter your username, followed by your password. For security reasons, you won’t see your password being typed on the screen while you’re inputting it. After you’ve typed your password and pressed Enter, you’ll be logged in. If there is a security alert, accept it.
Connect to your server using SSH
To connect to your site’s command-line using SSH, use the following command in your Terminal client:
ssh username@domain.com -p 22Change port number 22 according to your server configuration. You can omit -p and 22 in the command if your host permits SSH on default port 22. If you run into a problem, “port 22: no matching host key type found. Their offer: ssh-dss“, you should add the option -oHostKeyAlgorithms=+ssh-dss to the SSH command:
ssh -oHostKeyAlgorithms=+ssh-dss username@domain.com2. Download and unzip the most recent WordPress files.
So now you have logged into the SSH server, you need to navigate to the correct directory where you will install WordPress. This depends on the server configuration. It can be the public_html folder or /var/www/yourdomain.com folder. Then download and extract the WordPress files there.
cd public_html/Download the latest WordPress zip file using wget command.
wget https://wordpress.org/latest.zip
unzip latest.zip
All of the unzipped files will be found in the wordpress folder. Move all of the files from wordpress to the current directory.
mv wordpress/* ./Remove latest.zip and empty wordpress directory.
rm -rf latest.zip
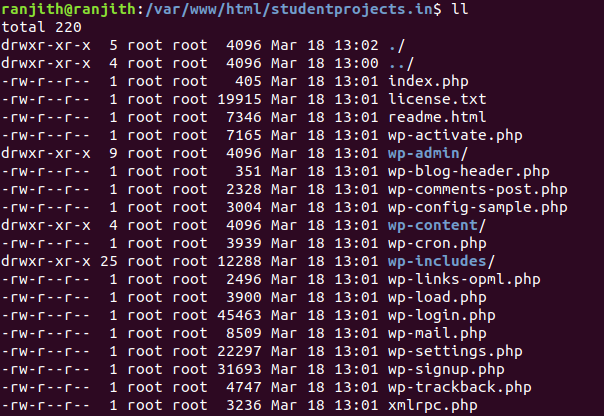
rmdir wordpressFinally, the WordPress files should resemble the image below.
3. Create a database and set it up.
Let’s make a new MySQL database, user and grant all the privileges.
To begin, use the following command to log into the MySQL command line:
mysql -u username -pAfter that, you’ll be prompted for your MySQL password. When you enter your password, you’ll see something like this:
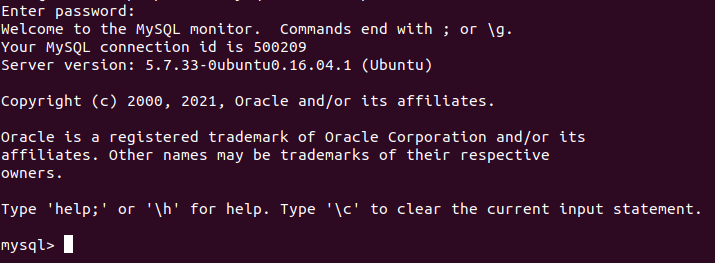
If there is no password and the username is set to default, then simply type MySQL command.
Once you are successfully logged into MySQL Server, create a database, new user and then provide the user access to the database. Execute the following commands:
create database databasename;
grant usage on *.* to username@localhost identified by 'password';
grant all privileges on databasename.* to username@localhost;
Make sure you provide a proper database name, user name and a strong password. Note it down somewhere to use it later.
4. Install the WordPress
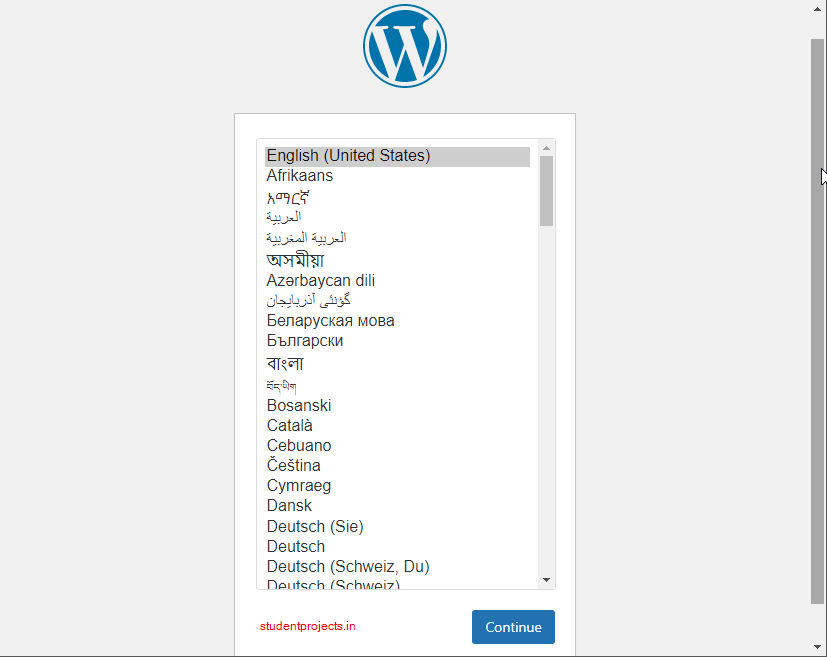
Open the website URL on the browser, which will take you to the installation wizard. Follow the below-given steps to install WordPress.

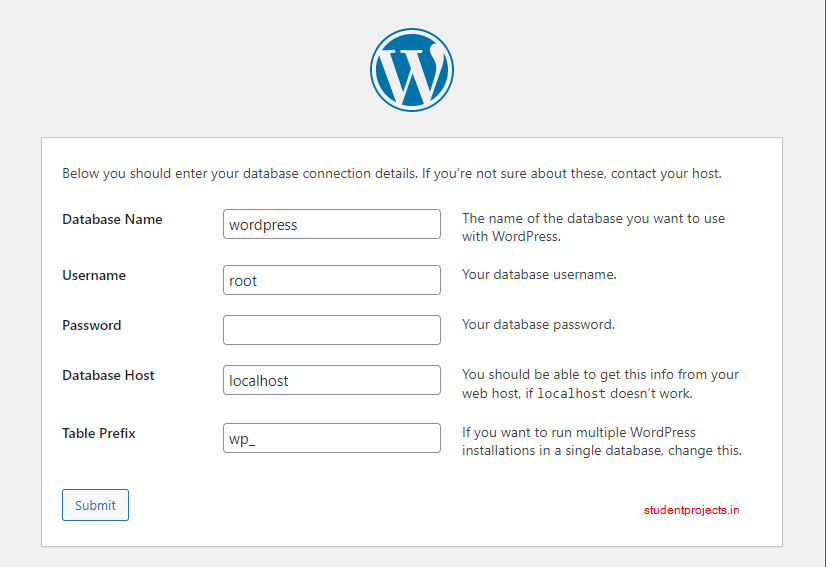
On the next step, enter the database name, username and password which you have noted down while creating it. Click on the Submit button. The database host and table prefix can remain unchanged.
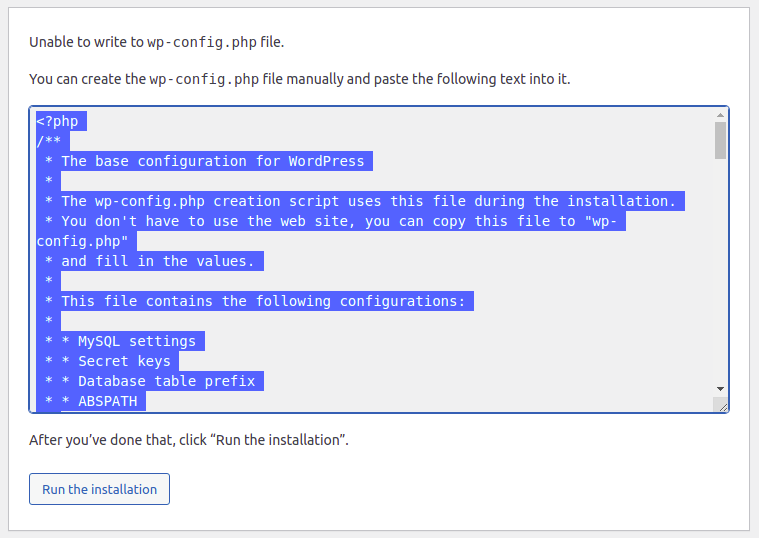
If you don’t have write access to create a file in the install directory, you’ll get the following error. Then, in the install directory, create a wp-config.php file and paste the given text in it.
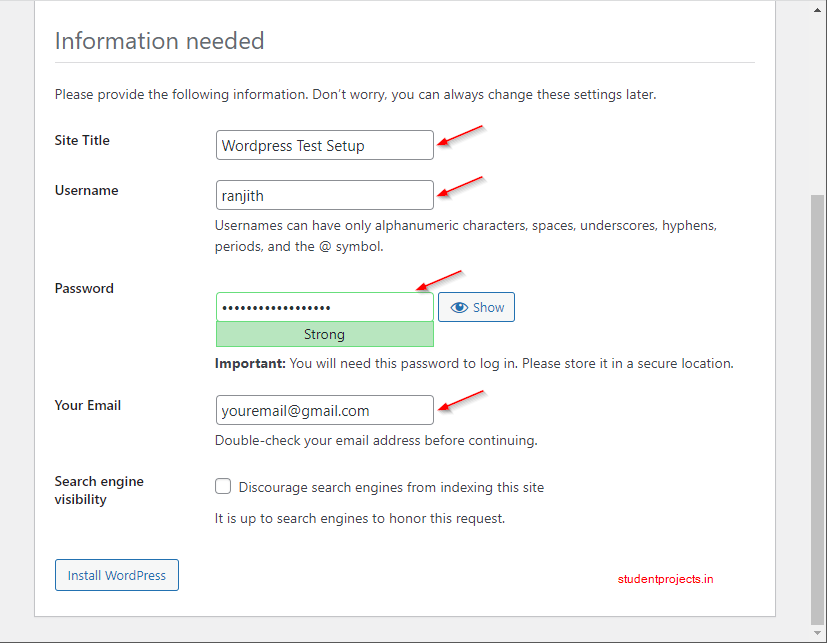
The database connection has now been established. Provide the Website title, a username and a strong password, email id. For security reasons, don’t use admin as a username.
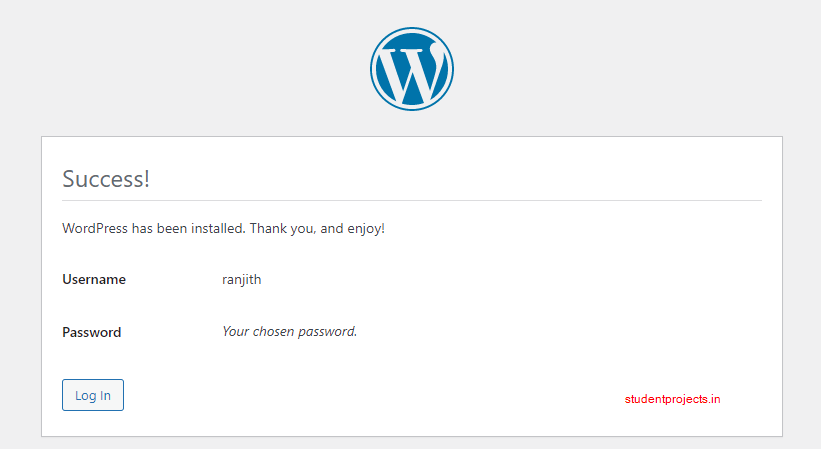
After a successful installation, the success message should show.
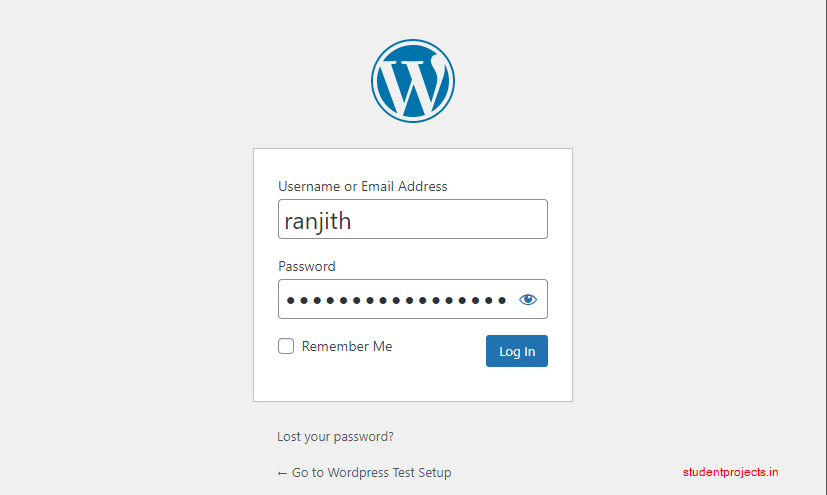
Click on the login button or open the URL http://yourdomain.com/wp-admin to access the WordPress admin panel. Enter the provided username and password, click the login button.
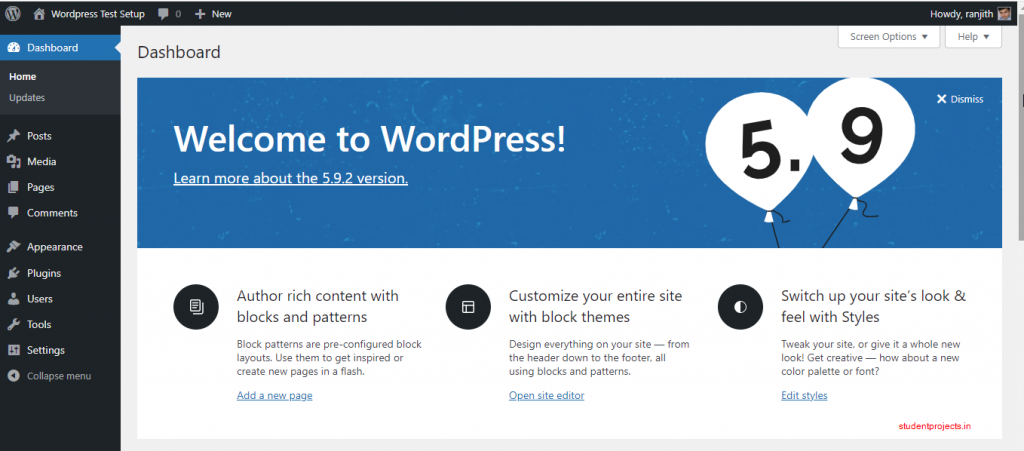
This will open the WordPress dashboard. This is your backend dashboard or admin panel, from where you would control everything.
Now is the time to visit your local website. Open http://yourdomain.com

Quickly try to post some test content, install any plugin to see if everything works fine. If there is any permission error while installing the plugin run the following command from the install directory.
chown -R www-data:www-data *Congratulations! You have successfully installed WordPress. Let me know if you have any questions in the comments section below. I’ll be happy to assist you!