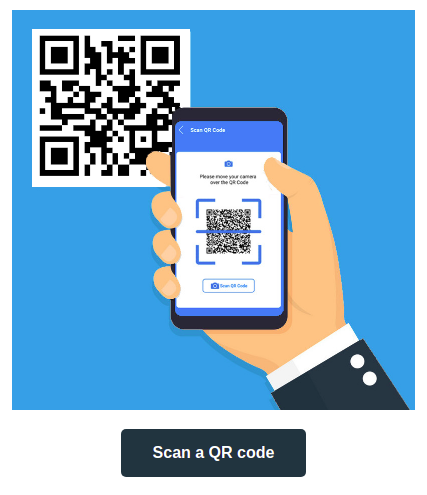
There are many recourses available on the net on how to integrate likes of react-native-qrcode-scanner package into your app. Although that is a straightforward and quick way to implement the QR code scanner, such packages require multiple dependencies like the React-Native Camera package to scan a QR code and are bulky both size and performance-wise. Your apk size will suddenly increase by a minimum of 15MB when you import these two packages. That is too much!
Our Solution
Can you imagine you can build a QR Code Scanner on a React-Native app without using React-Native Camera and react-native-qrcode-scanner packages?
Yes. Use the simple HTML QR Code scanner and open it using a WebView. That’s it!

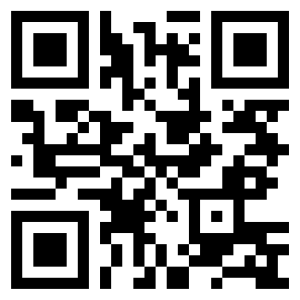
Here’s a demo of a QR code scanner that works on mobile phones. To scan a QR code, all you need is a camera and a QR code. Use the below-given QR code to scan.

Let’s Start Coding
Here we need HTML, JavaScript and a CSS file. First, we will create an index.html.
Creating an HTML index file
<!DOCTYPE html>
<html>
  <head>
    <title>QR Code Scanner</title>
    <meta charset="UTF-8" />
    <meta name="viewport" content="width=device-width; initial-scale=1.0; maximum-scale=1.0; user-scalable=0;" />
    <link rel="stylesheet" href="src/styles.css" />
    <script src="https://rawgit.com/sitepoint-editors/jsqrcode/master/src/qr_packed.js"></script>
  </head>
  <body>
    <div id="container">
      <a id="btn-scan-qr">
        <img src="./src/scan.jpg"><br/>
        <button>Scan a QR code</button>
      </a>
      <canvas hidden="" id="qr-canvas"></canvas>
      <div id="qr-result" hidden="">
        <b>Result:</b> <span id="outputData"></span>
      </div>
    </div>
    <script src="./src/qrCodeScanner.js"></script>
  </body>
</html>
Here canvas element is added to show the camera view. It also includes a QR code scanner JavaScript file and a CSS file. output data id will print the scanned output.
Linking a QR code scanner library
QR code requires a JavaScript library to scan a QR code. As it will be hard to write our own, we use a readily available one.
There is a famous ‘JavaScript QRCode reader for HTML5 enabled browser‘ by LazarSoft. There are 17 files in it. So we will use the packed version of it developed by Sitepoint.
<script src="https://rawgit.com/sitepoint-editors/jsqrcode/master/src/qr_packed.js"></script>Creating a JavaScript file
On the index.html file, I have linked a QRCodeScanner.js file as shown in below code block.
<script src="./src/QRCodeScanner.js"></script>Here is the content of this file.
qrcode = window.qrcode;
const video = document.createElement("video");
const canvasElement = document.getElementById("qr-canvas");
const canvas = canvasElement.getContext("2d");
const qrResult = document.getElementById("qr-result");
const outputData = document.getElementById("outputData");
const btnScanQR = document.getElementById("btn-scan-qr");
let scanning = false;
qrcode.callback = res => {
  if (res) {
    scanning = false;
    outputData.innerText = res;
    video.srcObject.getTracks().forEach(track => {
      track.stop();
    });
    qrResult.hidden = false;
    canvasElement.hidden = true;
    btnScanQR.hidden = false;
    window.open(res,"_self")
  }
};
btnScanQR.onclick = () => {
  navigator.mediaDevices
    .getUserMedia({ video: { facingMode: "environment" } })
    .then(function(stream) {
      scanning = true;
      qrResult.hidden = true;
      btnScanQR.hidden = true;
      canvasElement.hidden = false;
      video.setAttribute("playsinline", true); // required to tell iOS safari we don't want fullscreen
      video.srcObject = stream;
      video.play();
      tick();
      scan();
    });
};
function tick() {
  canvasElement.height = video.videoHeight;
  canvasElement.width = video.videoWidth;
  canvas.drawImage(video, 0, 0, canvasElement.width, canvasElement.height);
  scanning && requestAnimationFrame(tick);
}
function scan() {
  try {
    qrcode.decode();
  } catch (e) {
    setTimeout(scan, 300);
  }
}
First, we will get the qrcode object from the window and then the code related to the camera to handle the video and image. Next, assign the elements to const variables.
Implemented callback and button onclick methods. On the callback function, as soon as the scanner reads a URL, window.open() function will open the URL. Also, the scanned URL will be printed on the screen using the id outputData.
Creating a Stylesheet
I have linked a style.css to index.html as shown below
<link rel="stylesheet" href="src/styles.css" />Here are the contents of the style.css file
body {
  font-family: sans-serif;
  padding: 0 10px;
  height: 100%;
  background: white;
  margin: 0;
}
#container {
  text-align: center;
  margin: 0;
}
#qr-canvas {
  margin: auto;
  width: calc(100% - 20px);
  max-width: 400px;
}
#btn-scan-qr {
  cursor: pointer;
}
#btn-scan-qr img {
  padding: 15px;
  margin-top: 15px;
  background: white;
  width: 300px;
}
button {
  background-color: #21353e;
  border: none;
  border-radius: 5px;
  font-weight: 700;
  color: #fff;
  padding: 15px 32px;
  text-align: center;
  text-decoration: none;
  display: inline-block;
  font-size: 16px;
}
Test the QR code scanner before we jump to react native code.
Now open the index.html file on the mobile browser. On clicking on the scan QR code button, it will ask for the camera permission. Once you provide permission, the camera should open. Now scan any QR code with a URL. After the successful scan browser should redirect to the new URL.
Great! If you are facing any trouble, then download the complete code here.
Link it from React Native App
Now open this HTML QR code scanner in a WebView on your React Native app. Create a component and import WebView from react-native-webview package. Pass the QR code scanner URL to WebView.
return (
  <View style={styles.flex1}>
    <WebView
      source={{uri: 'https://studentprojects.in/demo/qrcodescanner/'}}
      startInLoadingState={true}
      onShouldStartLoadWithRequest={event => {
        if (event.url !== 'https://studentprojects.in/demo/qrcodescanner/') {
          console.log('onShouldStartLoadWithRequest', event.url);
          // Write your code here.
          return false;
        }
        return true;
      }}
    />
  </View>
);
Here the challenge is to get the scanned URL on the React Native code from the WebView. This can be achieved using onShouldStartLoadWithRequest().
So it is mandatory that you open the URL on a successful QR code scan so that you can catch it using onShouldStartLoadWithRequest() and cancel the loading of that URL by returning ‘return false’.
console log should print the scanned URL. You can write your code once you get the URL.
If you have any problems putting this together, please leave a comment.
